
There is no universal hanger-spacing number that works for every garment, hanger and fixture.
A lightweight blouse, padded jacket and winter coat do not occupy the same space. A slim hanger and a broad-shoulder hanger do not occupy the same space either.
A fixed 1 cm gap can be a test point in a particular display, but it should not be presented as an industry rule.
The practical standard is built from the garment, hanger and rail together.
Measure the Garment-and-Hanger Combination
Do not decide capacity by lining up empty hangers.
Put the real garment on the proposed hanger.
The garment adds fabric thickness, sleeves, collars, padding and other volume that changes the effective spacing.
Two hanger models that appear similar when empty can create very different rail density once loaded.
Start With the Garment Category
Lightweight tops can often sit closer together than structured jackets or coats while remaining easy to browse.
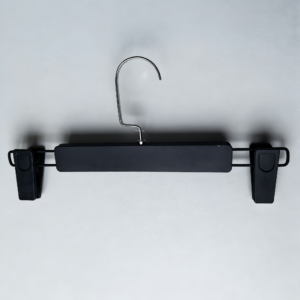
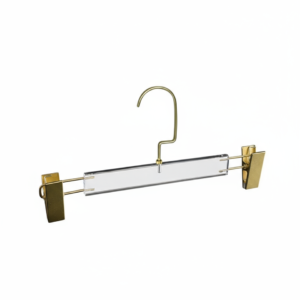
Bottom garments create another pattern because clip hangers or folded trousers occupy rail space differently.
Build the standard by category rather than trying to apply one spacing rule to the entire store.
The hanger fit guide should be used first if the hanger body itself has not yet been approved for the garment.
Hanger Thickness Changes Capacity
A slim-profile hanger can increase the number of items that physically fit on a rail.
That does not automatically mean the rail should be filled to that maximum.
The display still needs enough movement for customers or staff to separate garments without pulling several pieces at once.
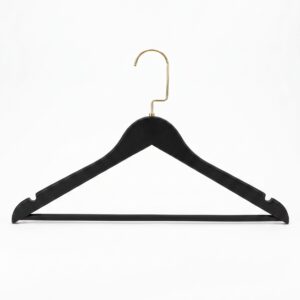
A broader hanger can reduce capacity but may be appropriate for structured clothing.
Spacing is therefore partly a hanger-selection decision.
Use the Actual Fixture Length
A store standard becomes more useful when it references a real fixture.
Instead of:
Leave 1 cm between hangers.
record something like:
On Fixture A, display X units of Category B using Hanger C after the store test is approved.
The exact number is determined by the retailer’s own test.
This approach can be repeated across stores because it links quantity to a defined rail, garment category and hanger model.
Run a Browsing Test
A practical spacing check can use four questions.
Visibility
Can the shopper identify individual garments without pulling the rail apart?
Browsing
Can one garment be moved aside without dragging several neighboring hangers?
Garment Shape
Does the clothing remain acceptably presented when the rail is at the planned density?
Recovery
After several garments are moved, can staff restore the display without excessive effort?
These questions are more useful than a theoretical gap measured between two empty hangers.
Separate Display Quantity From Stock Quantity
The number of units owned by the store does not have to equal the number displayed at one time.
A high-stock item can be replenished from the backroom instead of compressing every available piece onto the rail.
This allows merchandising to set a display density that works visually and operationally while inventory planning handles the remaining stock separately.
Test the Difficult Items in the Range
Do not approve the standard with the thinnest garment only.
Use garments that are likely to create spacing problems:
- structured jackets;
- thick knitwear;
- padded items;
- garments with wide sleeves;
- very small or very large sizes in the range.
If the standard still works with the difficult items, it is more likely to remain usable in daily operation.
Keep Hanger Family Consistency Where It Helps
Different garment categories may need different hanger bodies.
That does not mean the rail has to look random.
The retailer can coordinate body color, hook finish or branding across several hanger structures.
For example, Lelvion’s rubber range includes multiple body shapes that can share a similar visual finish while serving different garment requirements.
Create a Fixture × Garment × Hanger Matrix
A practical internal standard might look like this:
| Fixture | Garment category | Hanger model | Test quantity | Approved display quantity |
|---|---|---|---|---|
| Rail A | Lightweight tops | Model X | ||
| Rail A | Jackets | Model Y | ||
| Rail B | Dresses | Model X | ||
| Rail C | Trousers | Clip model Z |
The numbers should come from the retailer’s own test rather than a generic blog rule.
Recheck the Standard When the Hanger Changes
If a new supplier introduces a hanger with a different profile or hook geometry, do not assume the old display quantity remains correct.
Retest the garment and fixture combination.
This is especially relevant during a supplier switch or a move from one hanger family to another.
Store the Display Standard With the Hanger Specification
Keep the hanger model, dimensions, body finish, hook and garment category together with the approved fixture density.
That makes it easier to reproduce the display across new stores or future seasons.
For a new hanger program, buyers can review the Lelvion product range, select the closest body for garment testing and send the garment category, fixture context and quantity through the contact page if sample support is needed.